
How to open JetBrains IDEs from the terminal on MacOS
Whether you’re transitioning tools or optimizing your workflow, integrating your IDE with the terminal can offer a swift way to dive right into coding. Here’s how you can set up your JetBrains IDE to launch directly from the macOS terminal.
Step 1: Access JetBrains Toolbox
Start by opening the JetBrains Toolbox. You can find its icon in the toolbar of your macOS.
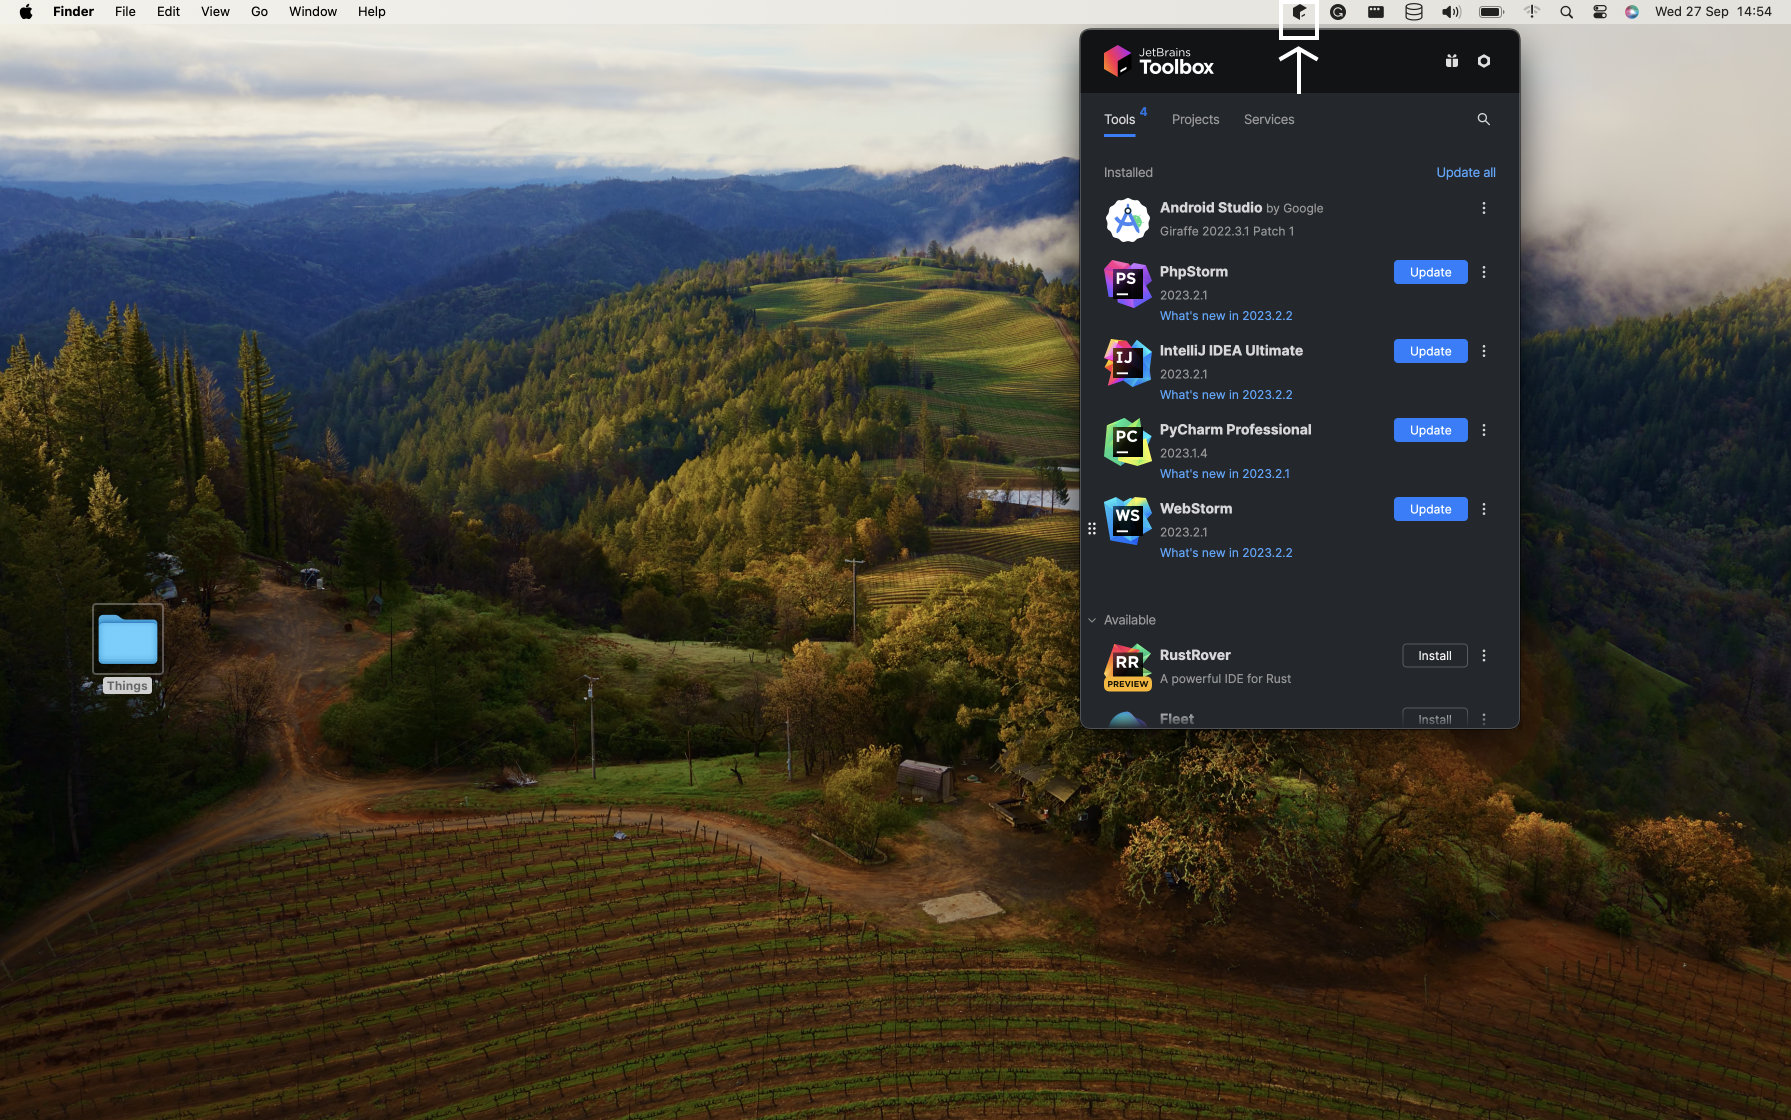
Step 2: Navigate to Toolbox Actions
Next, click on the menu labeled “Toolbox Actions”, located to the right of each item in the list of your installed IDEs.
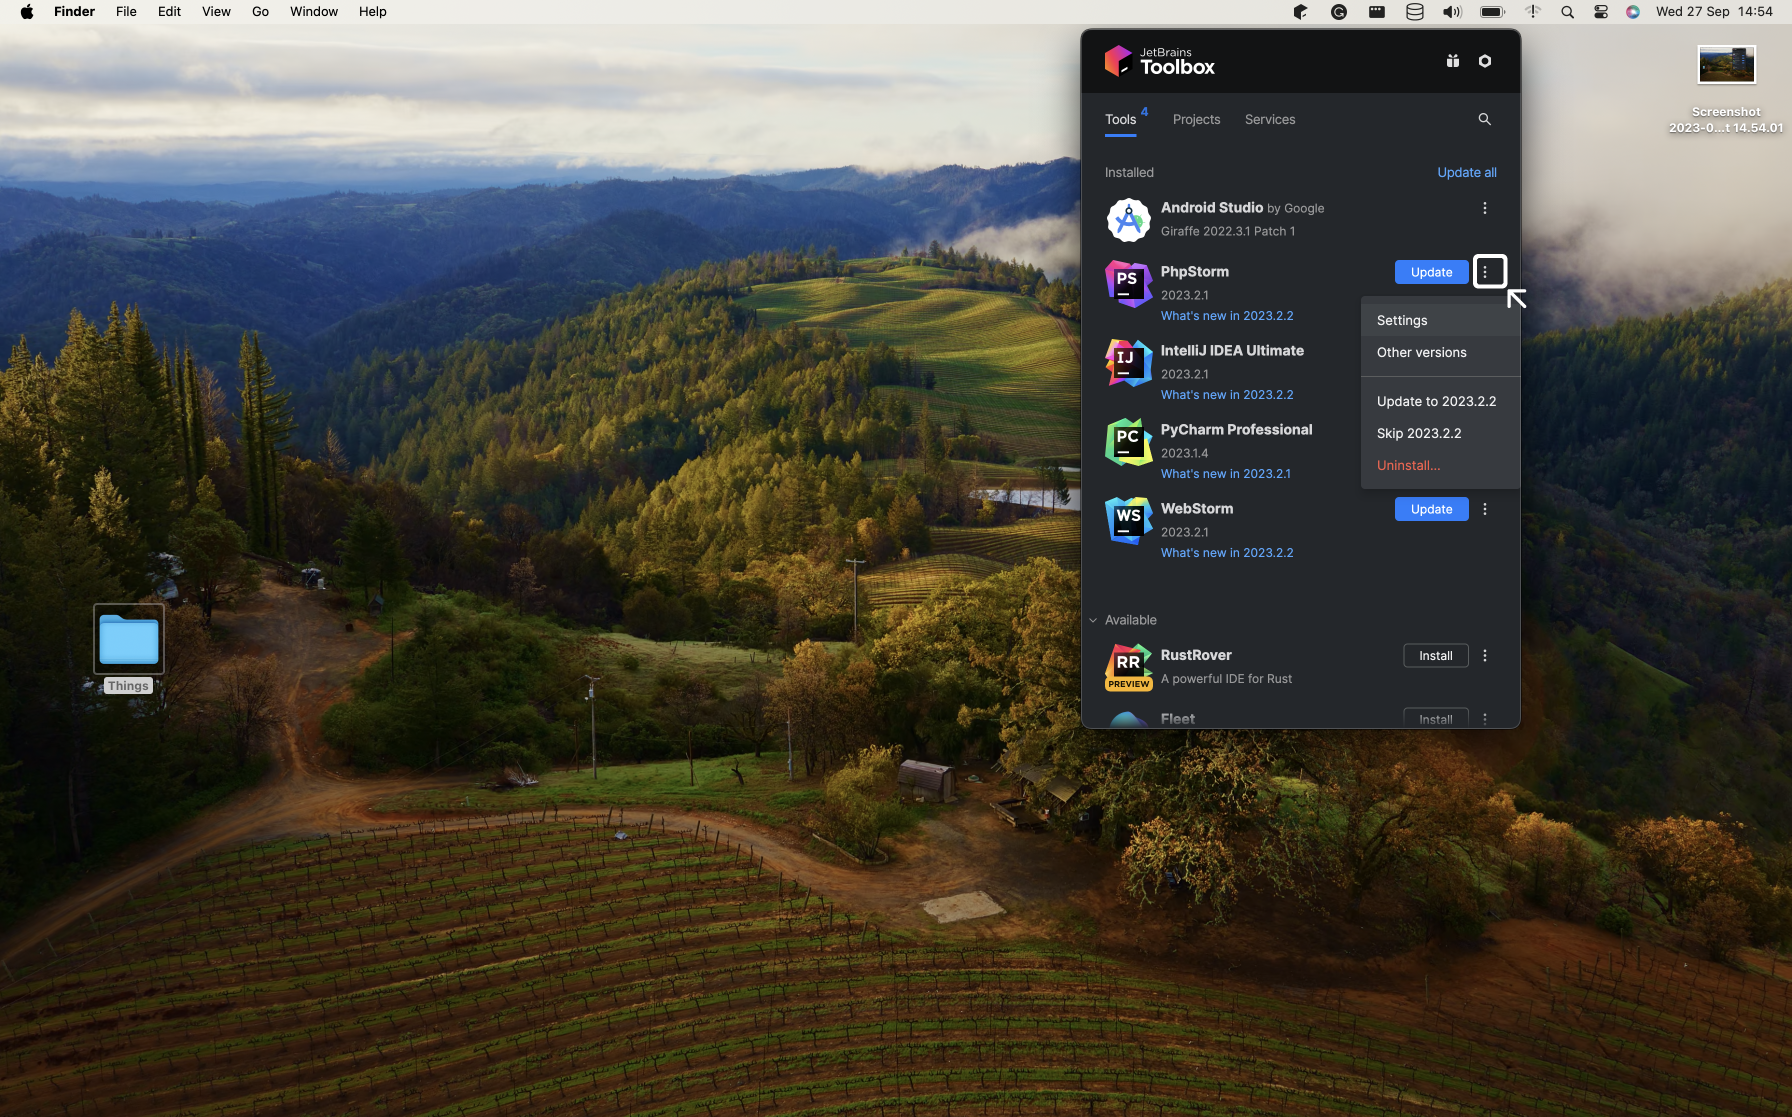
Step 3: Dive into Settings
Once the menu is open, select the “Settings” option. In the subsequent menu, click on “Advanced Configuration” to reveal the diverse configuration options available.

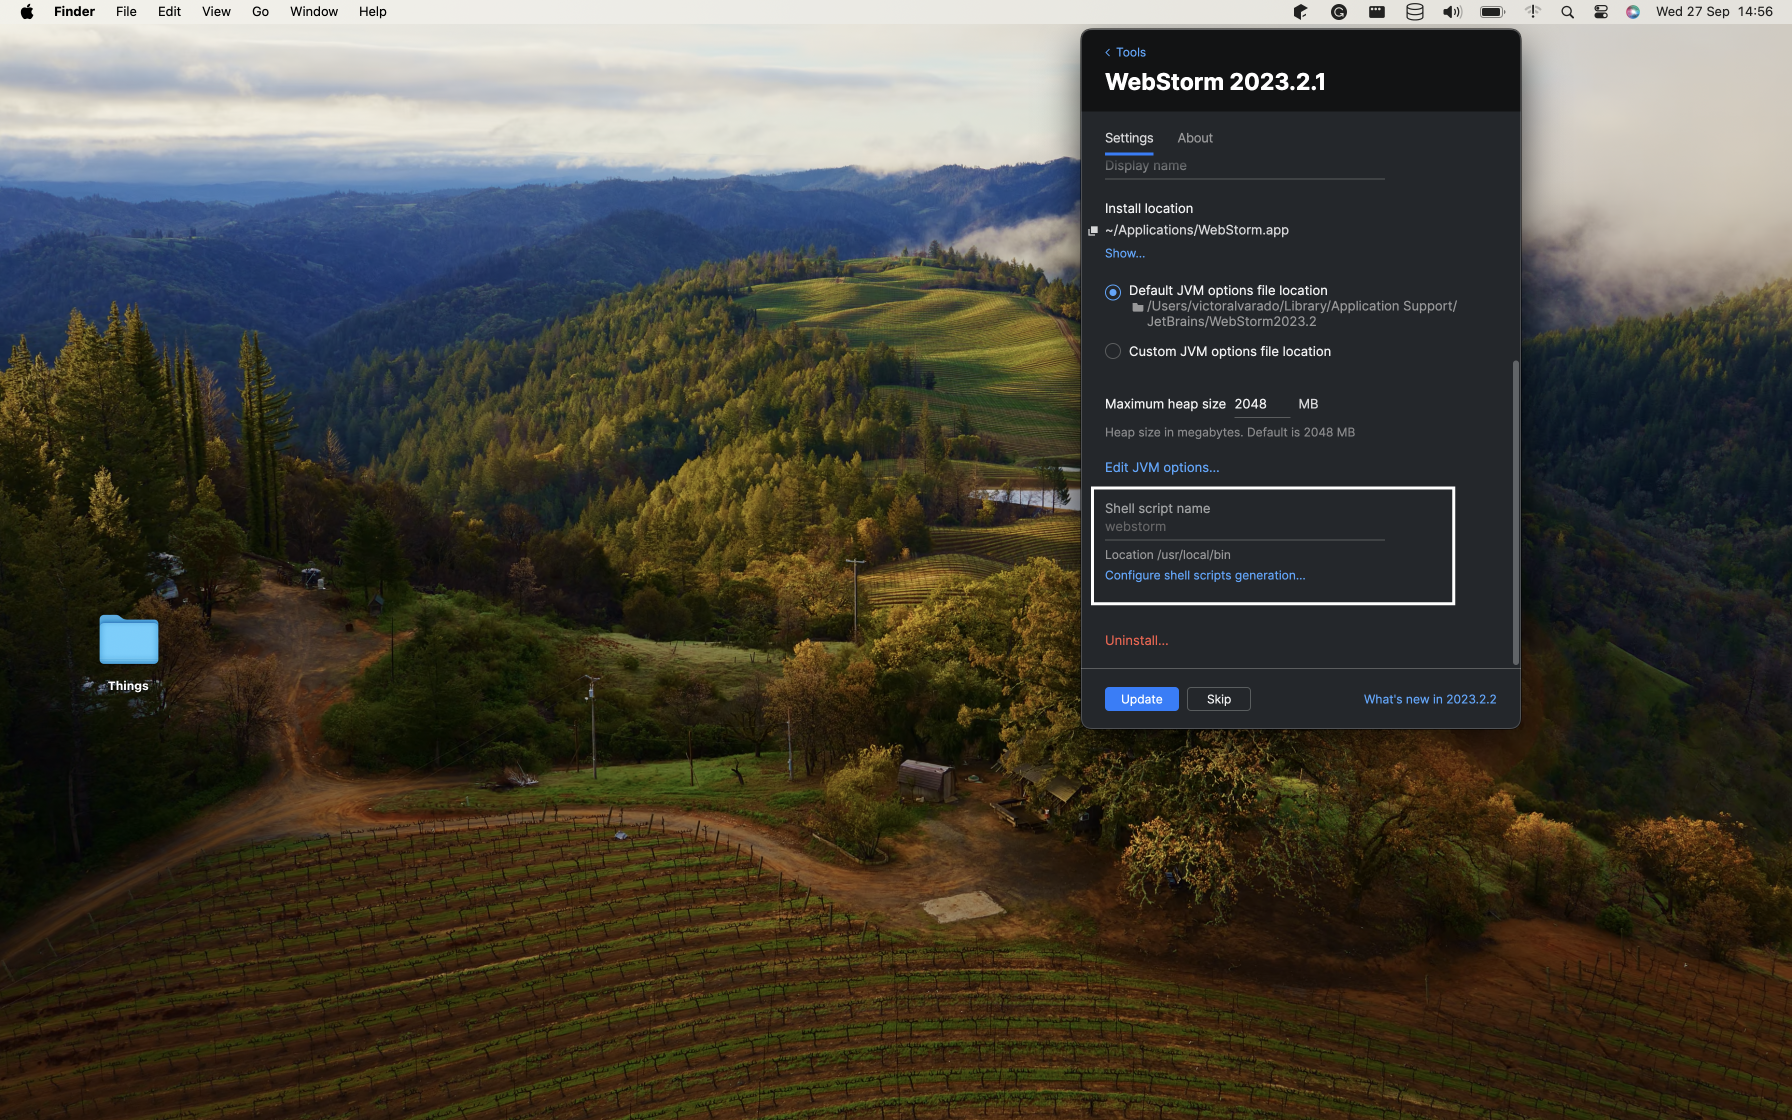
Step 4: Define Your Shell Script Name
Scroll down until you locate the “Shell Script Name” option. While the Toolbox provides a default name for the command,
you have the flexibility to modify it. For instance, for PHPStorm, the default command is: phpstorm. To use it in your
terminal, you would type: phpstorm . (Note: there’s a space between “webstorm” and the point).
Here you can see an example:
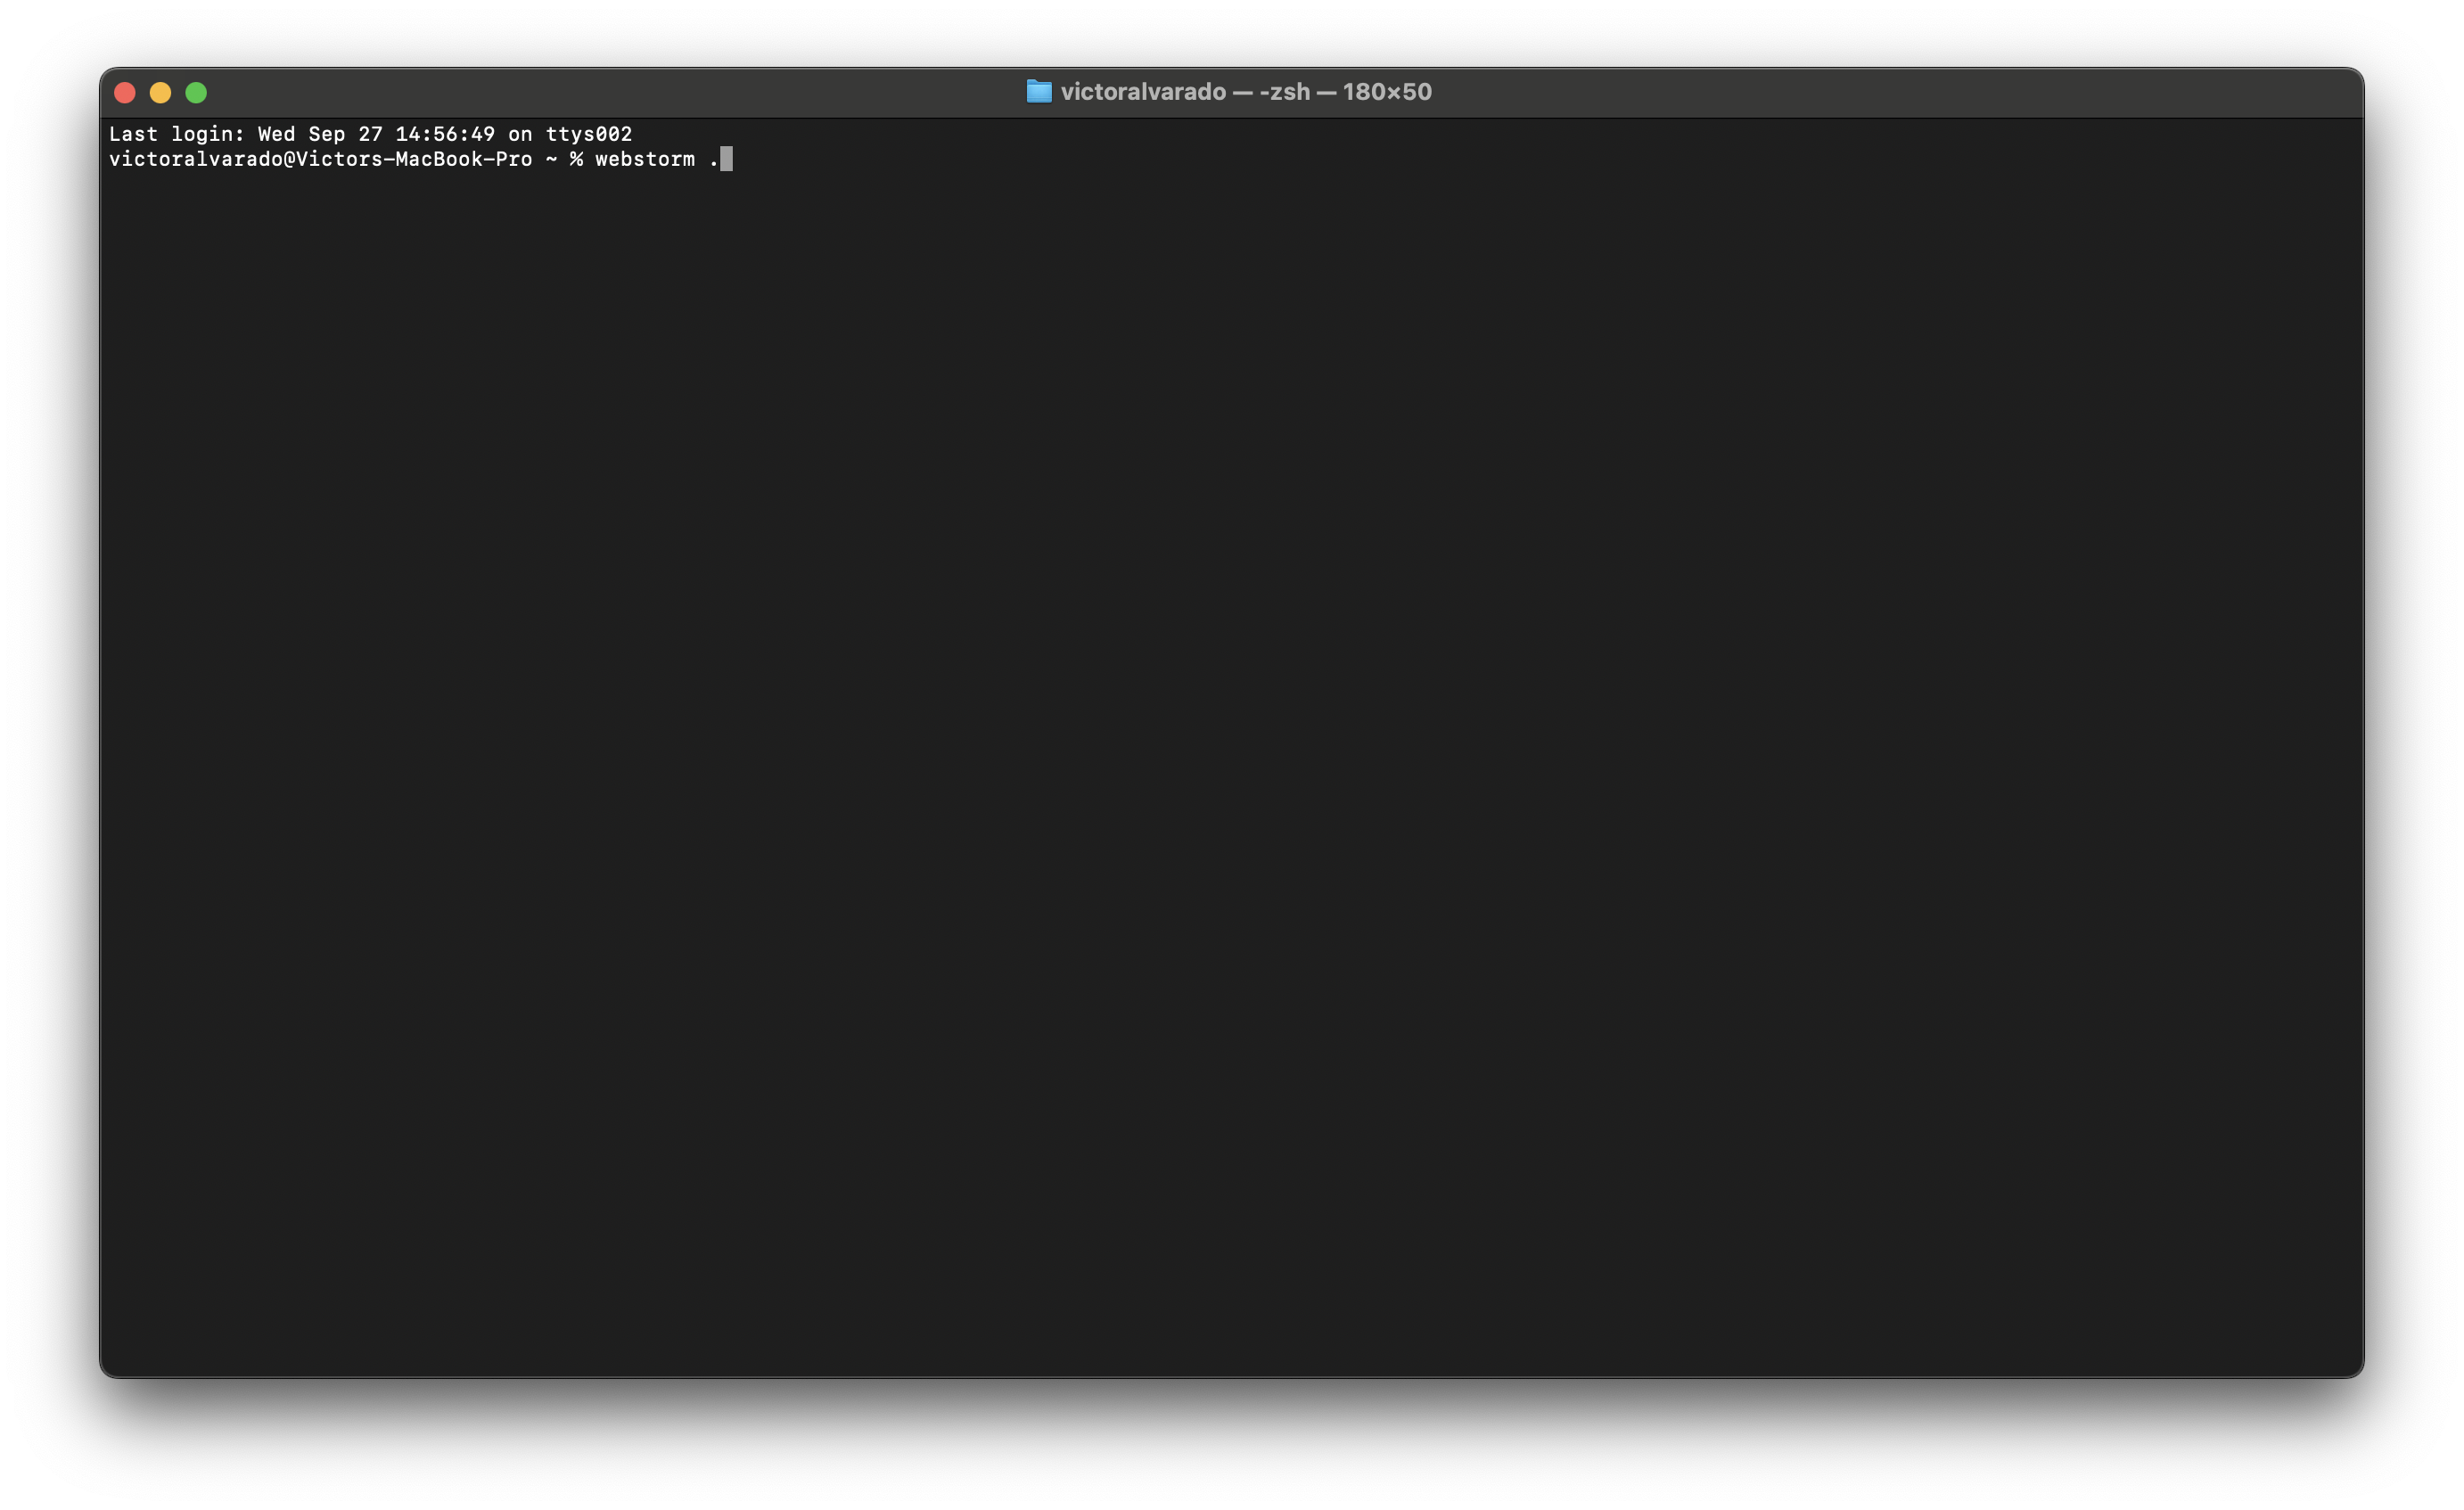
That’s it! In recent versions of JetBrains Toolbox, these commands are preset by default. If you ever wish to view or modify the “Shell Script Name” for an IDE, just navigate to its advanced configuration.
This has been a modest contribution from my end. It’s a simple trick, but it’s often overlooked, especially when we transition our tools to craft our precious code…